2018
Arduino based programmable measuring equipment
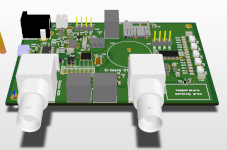
This device is my first self-made Arduino based development board, with own PCB instead of breadboard for the prototype.
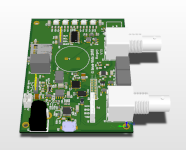
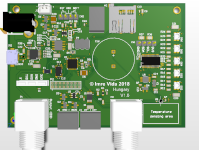
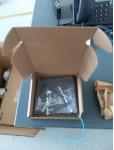
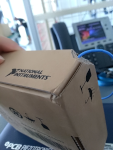
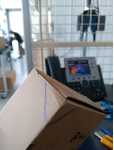
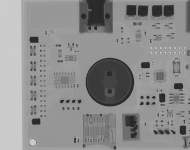
A few picture of the device:
The project's details:
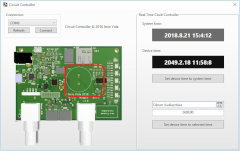
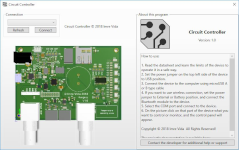
This project was made for educational purposes. This is my first circuit which I designed a PCB to. On the board there are some different sensors, for example a TMP112 type temperature sensor, a current and voltage meter chip, and one of the analog inputs of the Atmega328-P microcontroller are connected to a BNC connector with a built in protection, and it can be used as an oscilloscope.
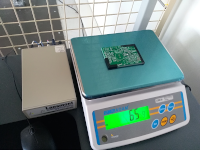
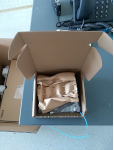
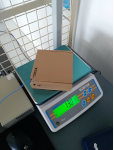
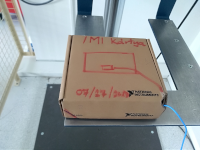
The circuit diagram of the device took approx. 1,5 - 2 weeks, and the PCB design took another approx. 1 week. After the PCB-s arrived I soldered the components of the 2 prototype panels by hand, so I could learn how to solder different type of components with different housing. During the design process and the prototyping I learned so many useful skills, and I saw almost a full life cycle of a real life product, from the idea through the designing and the prototyping to the documenting, packaging and the drop-testing.
The first step was the planning. I had to decide what to place on the device, and what functions should it have. After that I had to find the most suitable microcontroller, which meets my requirements, for example it can work from 3.3V voltage, and an important criteria was that the final product should be arduino compatible, to make it easily programmable. The Atmega328-P type microcontroller was choosen. There was (among others) one more really important thing what made the component choosing process more complicated, and that was the recommended operating temperature. After finishing the circuit diagram during the PCB designing I learned a lot. For example, I don't have to be afraid of restarting already completed parts of the project, because on second or third thoughts there might be a much better solution to the given problem. While I was waiting for the PCB to be manufactured I wrote a 37 pages long, English description of the product. Among other things it contains exactly the same things what needs to be in a real commercial product's documentation, in addition it contains the how to use guide and some informations and measurements done under the packaging process. After the prototypes were done, I took them under various function tests, which proved, that the device meets the planned requirements. As the last step I summarized the mistakes I made during the designing process, and the possible solutions to them. In my opinion that was the most useful part of the whole project when I had to find the cause of the problems, and tried fixing them.
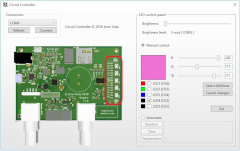
Some pictures of the project and it's controller software:
Thank you to everyone, who helped me with the project. Special thanks to those, who taught a lot of useful things during the designing and prototyping.
- Gábor Kovács hardware engineer
- Zsolt Bodrogi packaging engineer
- And many others
The device's extended datasheet: